
Well pressure tank maintenance helps protect the pump, stabilize household water pressure, and reduce unnecessary pump cycling. The tank does not create pressure on its own; it stores a small amount of pressurized water and works with the pump and pressure controls to deliver water between pump cycles.
Most maintenance is simple observation: watch the pressure gauge, listen for unusual cycling, check for leaks, and keep the tank area dry and accessible. More involved work, including air-charge checks, must be done safely and only for tanks and systems where the manufacturer permits it.
A pressure problem does not automatically mean the tank has failed. A restricted filter, plumbing leak, pump issue, pressure-switch problem, or low-yield well can create similar symptoms. The goal of well pressure tank maintenance is to identify what the system is doing before replacing parts.
How a Well Pressure Tank Works
In a conventional private well system, the well pump fills the plumbing and pressure tank until the system reaches the pump’s cut-out pressure. The pressure switch then turns the pump off. As someone uses water, the tank releases stored water and pressure gradually falls. When pressure reaches the cut-in setting, the switch starts the pump again.
The usable amount of water delivered between cut-out and cut-in is called drawdown. It is not the same as the tank’s total physical volume. A 20-gallon tank, for example, does not hold 20 gallons of usable pressurized water because part of its interior contains compressed air.
Most modern tanks use an internal bladder or diaphragm to keep water and air separated. Older galvanized tanks may not have a bladder and require a different maintenance approach. Constant-pressure systems with electronic controllers may also operate differently from a standard pressure-switch-and-tank setup.
Why the air charge matters
Air inside the tank compresses as water enters. That compressed air pushes water into the home when a faucet, shower, or appliance calls for it. If the air charge is too low, the tank may hold very little drawdown, causing frequent pump starts. If the air charge is too high, the tank may deliver little or no water before the pump starts.
A properly functioning pressure tank reduces pump starts, but it cannot compensate for every system problem. It will not correct a clogged sediment filter, a failing pump, a pressure switch with damaged contacts, or a well that cannot supply enough water for household demand.
Know Which Pressure Tank You Have
Before performing any maintenance, identify the tank type and review its label and manufacturer instructions. The correct service method depends on the design.
| Tank type | Typical features | Maintenance considerations |
|---|---|---|
| Bladder or diaphragm tank | Usually steel with a sealed air chamber and a tire-style air valve at the top or side | May allow an air-charge check when power is off and water pressure is fully relieved. A damaged bladder can cause water to reach the air valve. |
| Older galvanized air-over-water tank | Often larger, without an internal bladder | May lose its air cushion over time. Maintenance methods vary and may involve an air-volume control or other components. |
| Constant-pressure system tank | Often paired with a variable-speed drive or electronic controller | May use a smaller tank and different operating rules. Do not apply conventional pressure-switch settings without the system manual. |
If the tank is badly corroded, visibly distorted, leaking at a seam, or damaged by freezing, do not attempt to repressurize or repair it. Pressure vessels can fail dangerously. Shut off power to the pump if needed and contact a qualified well or plumbing professional.
Routine Well Pressure Tank Maintenance Tasks
A brief inspection once or twice a year can reveal developing problems before they become a no-water emergency. You can also inspect the system after plumbing work, a power outage, flooding, a long period away from home, or a noticeable change in water pressure.
Inspect the tank exterior and surrounding area
Start with a visual check. Look for moisture, corrosion, mineral buildup, damaged fittings, and signs that water has been dripping onto the floor. Check the area around the pressure tank, pressure switch, pressure gauge, shutoff valves, and nearby pipes.
- Look for rust, flaking paint, pitting, or damp spots on the tank shell.
- Check threaded fittings and valves for slow leaks or white mineral deposits.
- Make sure the tank remains upright and adequately supported.
- Keep stored items away from electrical controls and plumbing connections.
- Protect the area from freezing temperatures and physical damage.
- Make sure a floor drain or sump area is not masking a slow leak.
A small leak can cause the pump to run even when no water is being used. If the pressure gauge falls while the house is quiet, a leak may be in the plumbing, at the tank, in a toilet, or in the underground line between the well and home. A professional may need to isolate sections of the system to locate it.
Watch normal pump cycling
Observe the pressure gauge while water is running at one fixture. In a conventional system, pressure should rise when the pump runs, stop at its cut-out setting, then gradually fall as water is used until the pump starts again at cut-in.
Normal cycling varies with tank size, water use, pressure settings, and pump capacity. The concern is not simply that the pump turns on; it is whether it turns on and off unusually often during a small amount of water use.
Short cycling describes rapid, repeated pump starts and stops. A pump that starts every few seconds or repeatedly cycles during a short hand-washing task needs attention. Frequent cycling can wear the pressure switch, pump motor, control components, and tank.
Check the pressure gauge for useful clues
A pressure gauge is a basic diagnostic tool, but it can fail or become clogged with sediment. If the needle does not move while the pump is clearly running or water is being used, the gauge may not be giving reliable information.
Write down what you observe before calling for service:
- The pressure shown when the pump starts and stops.
- Whether pressure drops only at one fixture or throughout the home.
- Whether the pump runs continuously, short cycles, or does not start.
- Whether a filter was recently changed or water treatment equipment was added.
- Whether the symptom began after a power outage, storm, plumbing repair, or period of high water use.
This information can help distinguish a tank issue from a flow restriction, electrical problem, pump problem, or well-supply issue.
Maintain nearby filters and treatment equipment
A clogged sediment cartridge, fouled iron filter, undersized treatment system, or partially closed valve can reduce flow and make the whole system seem weak. Low flow is not always low pressure.
Follow the service schedule for installed filters, softeners, iron treatment systems, and other equipment. If pressure became poor immediately after a filter change, check that the correct cartridge was installed, housings were reassembled properly, and any service valves were returned to their normal operating position.
How to Check Pressure Tank Air Charge Safely
An air-charge check can be appropriate for many conventional bladder or diaphragm tanks, but only when the tank manufacturer allows it and the system uses a standard pressure switch. Do not assume this procedure applies to every pressure tank, especially tanks connected to variable-speed or constant-pressure controls.
Safety boundary: Do not work on live electrical components, remove a pressure-switch cover, bypass controls, or adjust switch settings unless you are qualified to do so. Never check or add air while the tank remains under water pressure. Isolate electrical power to the pump and fully relieve water-side pressure first.
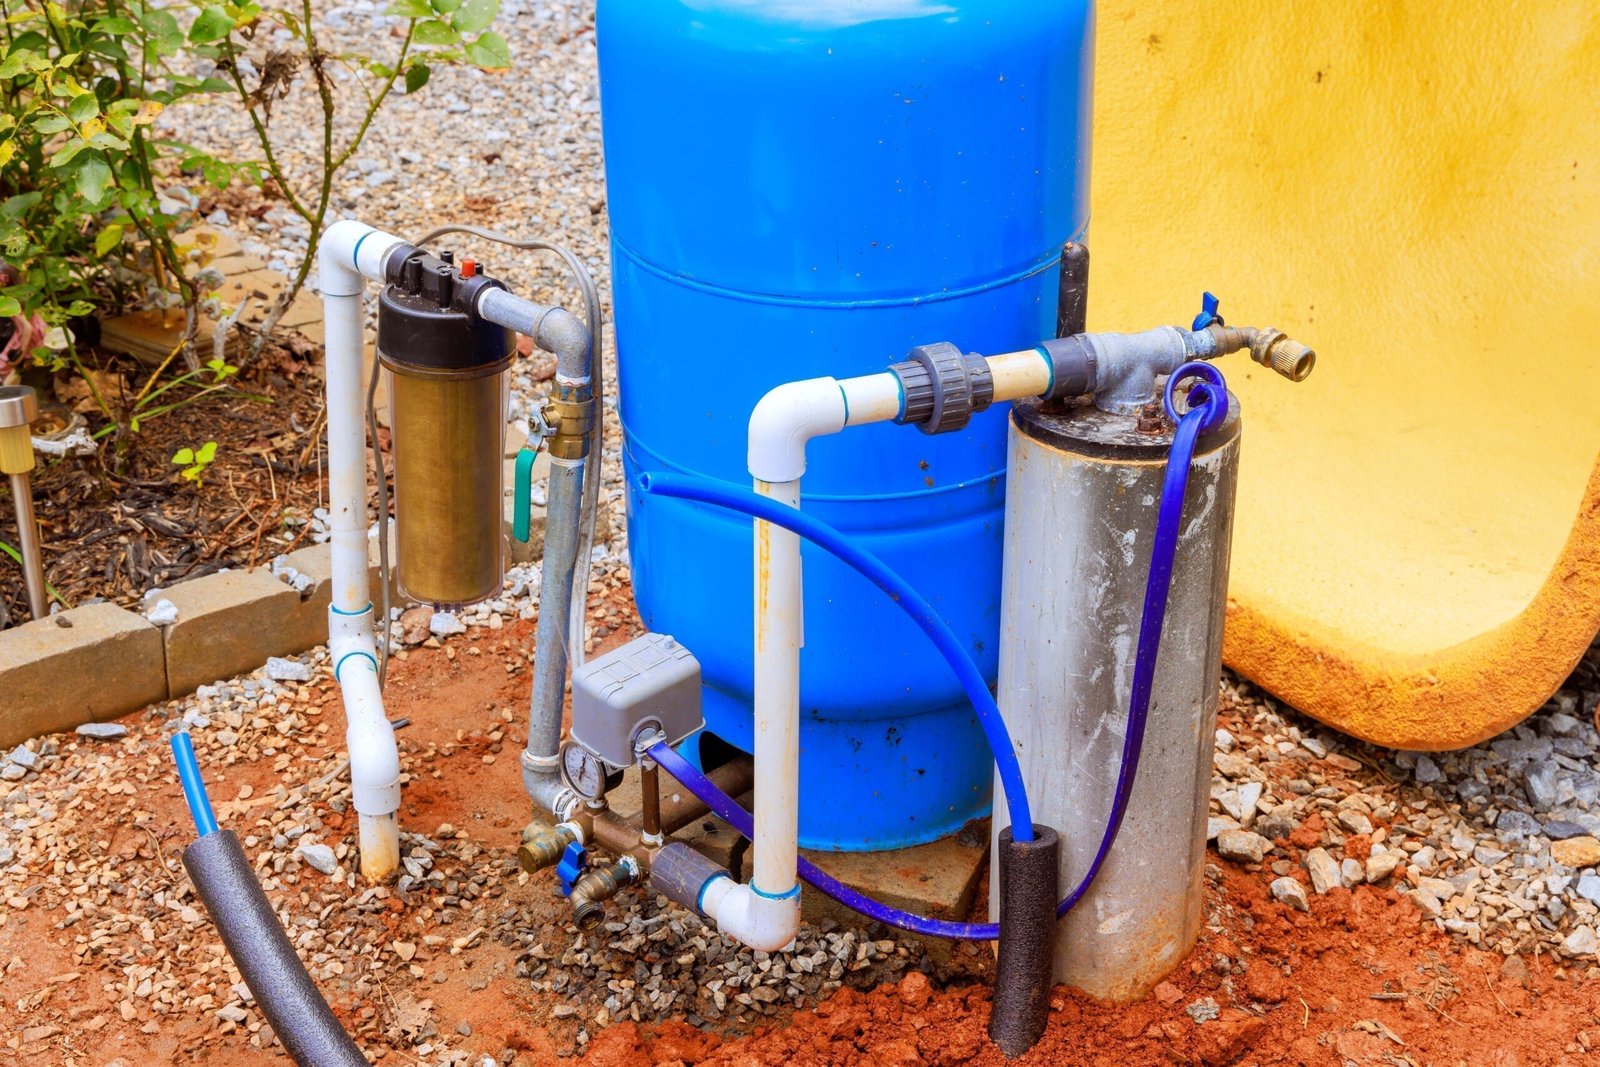
Credit: freshwatersystems.com
What you need
- A reliable low-pressure tire gauge.
- An air source if the tank requires air, used cautiously.
- Access to the tank label and system documentation.
- A faucet or drain point that can safely release water pressure.
General procedure for a permitted air-charge check
- Turn off electrical power to the well pump at the appropriate disconnect or breaker. Confirm the pump cannot start automatically.
- Open a nearby faucet or drain point and allow the water-side pressure to fall completely to zero. Leave the faucet open while checking the tank.
- Use the tire-style air valve on the tank to measure the air charge. Do not rely on the pressure gauge attached to the plumbing; it measures water-system pressure, not the tank’s air charge.
- Compare the reading with the tank label, manufacturer instructions, and the operating design of your system.
- If the manufacturer permits adjustment, add or release air gradually to the specified setting. For many conventional pressure-switch systems, the factory guidance is commonly an air charge slightly below pump cut-in pressure, often 2 psi below it. This is not a universal rule and should not be applied to constant-pressure systems or without confirming the equipment instructions.
- Close the faucet or drain, restore power, and observe one complete pump cycle. Check for normal operation and leaks.
If water comes out of the air valve, the internal bladder or diaphragm has likely failed. Do not continue adding air as a fix. The tank generally requires professional evaluation and often replacement.
If the tank repeatedly loses air but no water appears at the valve, the valve core or cap may be leaking. A qualified technician can determine whether the valve is serviceable and whether the tank has a deeper internal problem.
Common Pressure Tank Symptoms and What They May Mean
Symptoms point to possible causes, not confirmed diagnoses. Several components control household water pressure, so it is best to start with simple observations and avoid replacing a tank based on one sign alone.
| Symptom | Possible causes | Useful next step |
|---|---|---|
| Pump starts and stops rapidly | Low air charge, failed bladder, undersized tank, pressure-switch issue, plumbing leak, or control problem | Observe gauge movement and cycle timing. Check the air charge only with power off and water pressure fully relieved. |
| Low pressure at every fixture | Clogged filter, restricted plumbing, failing pump, low well yield, pressure-control issue, or partly closed valve | Check filters and visible valves. Note whether pressure falls while the pump runs continuously. |
| Weak flow at one faucet only | Clogged aerator, fixture cartridge, local shutoff valve, or branch-line restriction | Clean the aerator if appropriate and compare other fixtures before investigating the well system. |
| Pressure drops when no water is being used | Plumbing leak, leaking toilet, check-valve issue, underground line leak, or tank fitting leak | Listen for pump activity and inspect visible plumbing. A contractor may need to isolate the source. |
| Water at the tank air valve | Failed bladder or diaphragm | Arrange tank evaluation or replacement; do not attempt repeated repressurization. |
| Tank is rusty, wet, or visibly damaged | External corrosion, fitting leak, condensation, or structural deterioration | Address active leaks promptly. Replace a compromised pressure vessel rather than trying to patch it. |
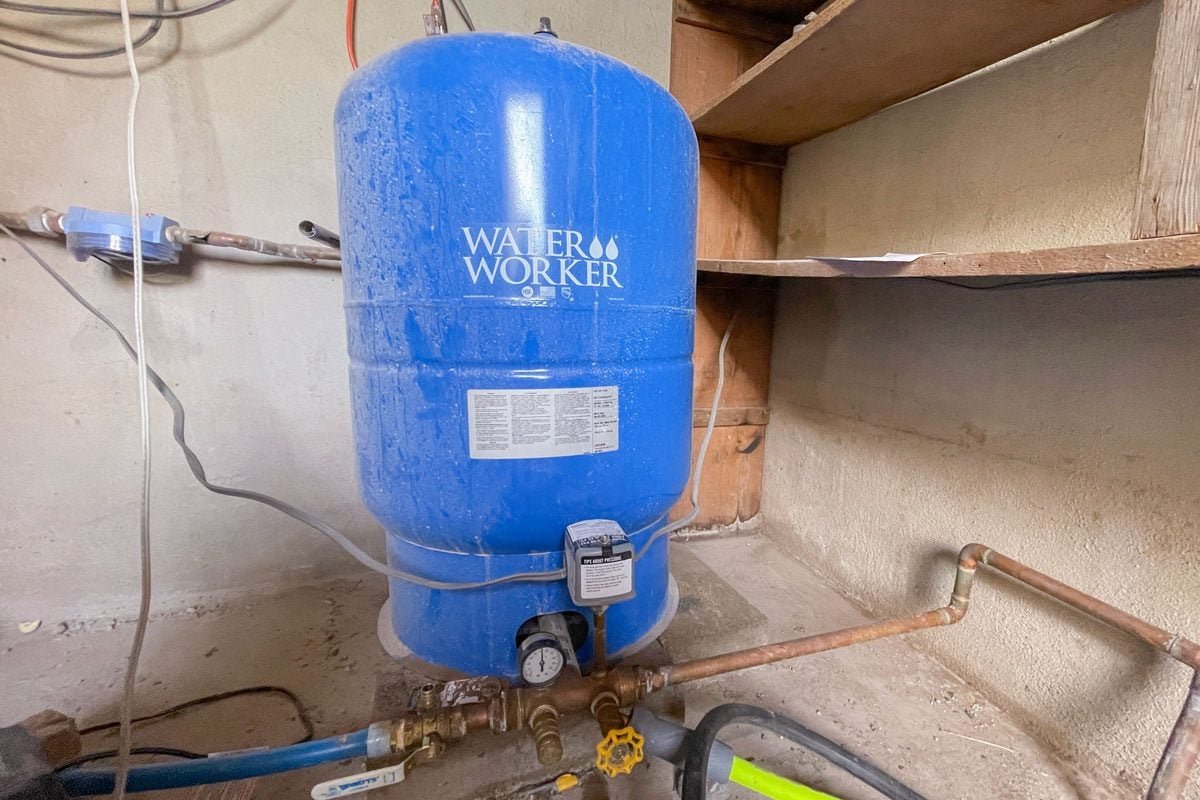
Credit: familyhandyman.com
Preventing Short Cycling and Premature Pump Wear
Short cycling is one of the most important warning signs in a well pressure system because each start places stress on the pump motor and controls. A tank with inadequate drawdown can contribute, but it is not the only cause.
To reduce avoidable cycling:
- Keep the tank air charge within the manufacturer’s specified range.
- Replace clogged filter cartridges before they create excessive pressure loss.
- Repair running toilets, dripping fixtures, and visible plumbing leaks.
- Use a tank sized for the pump, household demand, and control system rather than choosing by tank volume alone.
- Avoid repeatedly resetting a breaker or pressure-control device if the pump will not run normally.
- Have unusual cycling investigated before it becomes a pump failure.
Tank sizing is especially important when replacing equipment. A pump’s horsepower does not determine the right tank size by itself. The system should account for pump flow rate, household demand, pressure settings, well yield, total dynamic head, and the desired minimum pump run time. A well professional can use the pump model and system information to evaluate compatibility.
When a Pressure Tank Should Be Replaced
Pressure tanks eventually wear out. Internal bladders and diaphragms can fail, steel shells can corrode, fittings can leak, and the tank may no longer provide enough drawdown for the system. Replacement is generally more appropriate than repair when the pressure vessel itself is compromised.
Consider professional replacement evaluation when you find:
- Water emerging from the air valve.
- A tank that cannot maintain its specified air charge.
- Persistent short cycling after other likely causes have been checked.
- Severe rust, deep corrosion, bulging, cracking, or leaking seams.
- A tank that is too small for a new pump or updated water-demand pattern.
- Repeated pressure problems linked to an older galvanized tank with lost air volume.
When comparing replacement options, ask about usable drawdown at your actual pressure settings, not only the tank’s total gallon rating. Also confirm the tank’s pressure rating, connection size, installation orientation, support requirements, and compatibility with your pump controls.
When to Call a Well Professional
Homeowners can safely observe the system, replace routine filter cartridges, and perform only manufacturer-approved tank checks. Electrical controls, pressurized vessels, well pumps, and buried water lines require more caution.
Contact a qualified well or pump professional if:
- The pump runs continuously but pressure will not build.
- The breaker trips, controls buzz, wiring appears damaged, or there is a burning smell.
- The tank is leaking, badly corroded, distorted, or suspected of having a failed bladder.
- You have no water throughout the house and basic supply checks do not identify the cause.
- Pressure changes began after a well repair, flooding, lightning event, or major plumbing work.
- You need to change pressure-switch settings, replace a tank, resize the system, or diagnose a buried leak.
If a water-quality change occurs along with pressure issues, treat that as a separate concern. Cloudiness, odor, discoloration, or unusual taste cannot identify a contaminant or establish that water is safe to drink. Use an appropriate certified laboratory test when there is a concern about well-water quality.
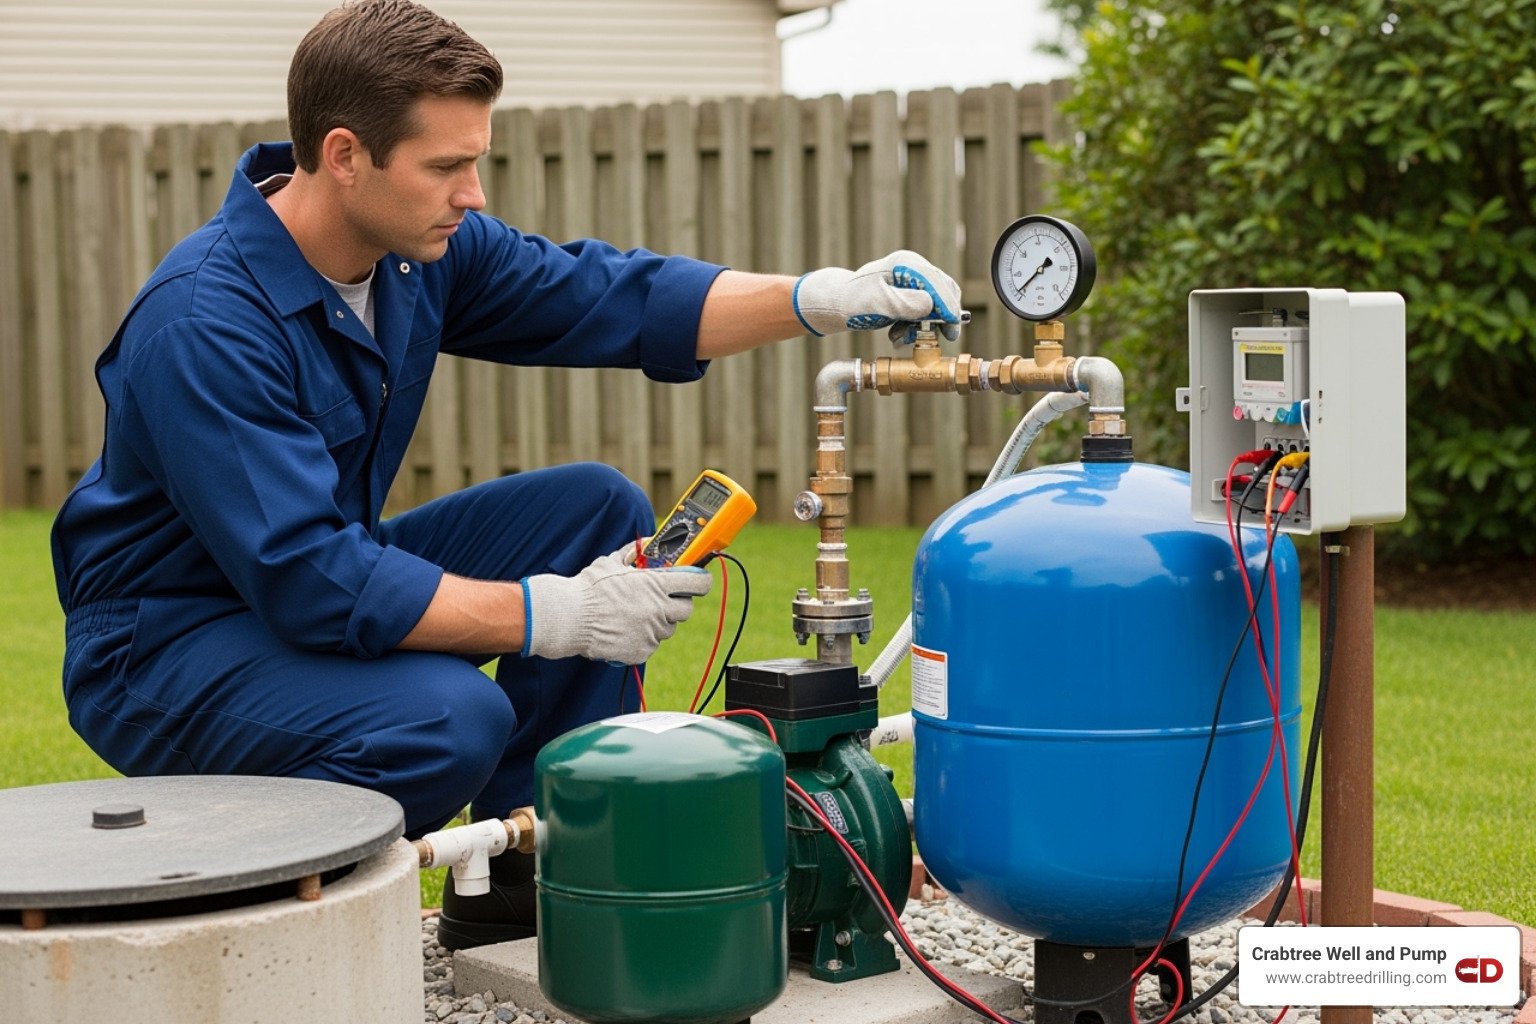
Credit: crabtreedrilling.com
Frequently Asked Questions
How often should a well pressure tank be inspected?
A visual inspection once or twice a year is a practical routine for many homes. Check sooner if the pump begins cycling differently, household pressure changes, filters clog unusually fast, or you see moisture around the tank or fittings.
Can a pressure tank be too large?
A larger tank is not usually harmful when it is properly rated and compatible with the system, but it costs more space and money. The important measurement is suitable drawdown for the pump and household demand. An oversized or incorrectly configured system can still have control or pressure problems.
Why does the pressure gauge show pressure when no water is coming from a faucet?
A gauge can show stored pressure even when flow is blocked by a clogged filter, closed valve, frozen pipe, failed fixture component, or plumbing restriction. Pressure indicates force in the system; it does not guarantee adequate water flow at every outlet.
Does a pressure tank affect well water quality?
The tank’s main job is pressure management, not water treatment. However, corrosion, sediment accumulation in plumbing, or stagnant water in an improperly maintained system may contribute to water concerns. A change in water appearance or odor should be evaluated separately with appropriate testing and system inspection.
What information should I provide when requesting pressure tank service?
Provide the tank brand and model if visible, pump type, pressure readings at pump start and stop, a description of the cycling pattern, recent filter or plumbing work, and whether the problem affects the whole house or one fixture. Photos of the tank label, gauge, fittings, and any visible leaks can also help a contractor prepare for the visit.