
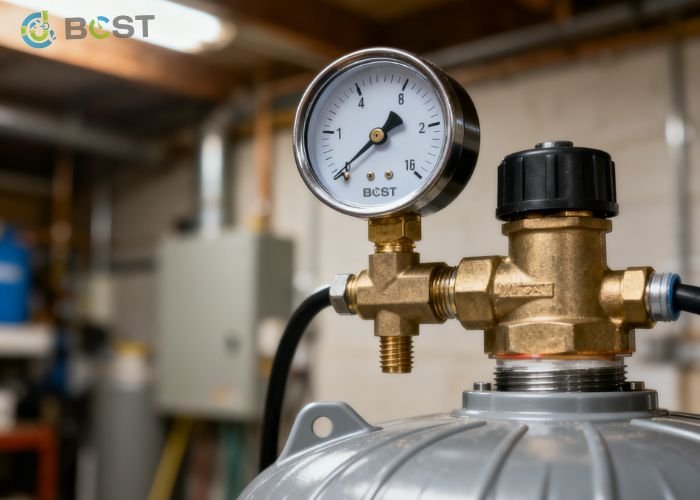
A well pump pressure gauge shows the water pressure inside your home’s pressure system. It is a small, inexpensive part, but it provides important clues about pump operation, pressure tank performance, water flow restrictions, and possible leaks.
For most private well systems, the gauge is mounted near the pressure tank and pressure switch. Watching how the needle moves while water is running can help you separate a normal pump cycle from a possible problem. A gauge reading alone does not confirm a failed pump or tank, but it is one of the most useful starting points for diagnosis.
This guide explains how a well pump pressure gauge works, what normal readings may look like, how to recognize misleading readings, and when a homeowner should call a qualified well or pump professional.
What a Well Pump Pressure Gauge Measures
A well pump pressure gauge measures water pressure, usually in pounds per square inch (psi), in the plumbing near the pressure tank. It does not measure how much water the well contains, the well’s depth, or the pump’s flow rate in gallons per minute (GPM).
In a conventional pressure-tank system, the gauge helps show the relationship between several components:
- The well pump, which moves water from the well into the home’s plumbing system
- The pressure tank, which stores a small usable amount of pressurized water
- The pressure switch, which tells the pump when to start and stop
- Plumbing pipes, filters, treatment equipment, fixtures, and valves, which can affect available pressure and flow
When a household fixture opens, pressure typically falls as water leaves the tank. At a preset lower pressure, called cut-in pressure, the pressure switch starts the pump. The pump then runs until system pressure reaches the higher cut-out pressure, at which point the switch turns the pump off.
The gauge should normally move between those two settings during a pump cycle. On many conventional residential systems, the settings may be 30/50 psi or 40/60 psi, meaning the pump starts at the lower number and stops at the higher number. However, settings are system-specific. Do not assume every well system uses the same range, especially if it has a constant-pressure controller, variable-speed pump, booster pump, or specialty pressure equipment.
Where the Pressure Gauge Is Located
The well pump pressure gauge is often threaded into a pressure tank tee or manifold near the pressure tank. It may be located beside the pressure switch, sediment filter, pressure relief valve, or plumbing connections from the well.
Some homes have more than one gauge. For example, a whole-house filter system may have a gauge before and after a filter to show pressure drop across the housing. Those gauges can be useful, but they do not necessarily show the exact same pressure as the main well-system gauge while water is flowing.
Main pressure-system gauge
The main gauge near the tank is generally the best place to observe pump cycling. It reflects pressure in the pressure tank and nearby plumbing. If the pressure switch is operating normally and the gauge is accurate, its needle should indicate approximately when the pump starts and stops.
Filter and treatment-system gauges
Gauges installed before and after a sediment filter, carbon filter, iron filter, or other treatment equipment can reveal restriction. A larger pressure difference between the inlet and outlet sides while water is running may indicate a clogged cartridge, fouled media, undersized equipment, or an excessive flow demand.
A pressure difference should be interpreted in the context of the equipment’s manufacturer instructions and the actual water flow. One gauge reading with no water running does not establish that a filter is restricted.
How to Read a Well Pump Pressure Gauge
Begin by observing the gauge when no water is being used. Then run a fixture that has a steady flow, such as a bathtub faucet, and watch the needle through one full pump cycle if practical.
- Note the pressure when the pump starts. This is the apparent cut-in pressure.
- Keep water running and watch whether pressure continues to fall, stabilizes, or begins rising after the pump starts.
- Note the pressure where the pump stops. This is the apparent cut-out pressure.
- Close the fixture and watch whether the system holds pressure with no water use.
A normal pattern in a conventional system is usually gradual: pressure drops from cut-out to cut-in while the home uses stored tank water, the pump starts, and pressure rises back to cut-out. The exact speed of the needle depends on tank drawdown, household flow, pump output, plumbing restrictions, and well yield.
Do not interpret a fast or slow pressure change without considering water use. A large fixture flow can make pressure drop quickly. A small faucet flow may allow pressure to rise even while water is still running if the pump produces more water than the fixture uses.
What Common Gauge Readings May Mean
The following patterns can help identify the next sensible check. They are not final diagnoses, because a faulty gauge, plumbing restriction, pressure switch issue, waterlogged tank, or pump problem can create similar symptoms.
| Gauge pattern | What it may suggest | Useful next step |
|---|---|---|
| Pressure cycles normally between two stable points | Normal pressure-switch operation, assuming water service is satisfactory | Record the observed start and stop pressures for future reference. |
| Needle drops rapidly and pump starts often | Low tank drawdown, possible tank air-charge or bladder issue, a leak, or unusually high water use | Check for visible leaks and note whether cycling occurs without water use. |
| Pressure falls below cut-in and does not recover | Demand may exceed pump output, a restriction may be present, well yield may be limited, or the pump/system may have a fault | Reduce water use and contact a qualified well professional if pressure cannot recover. |
| Gauge stays at one reading even though pump operation changes | Gauge may be clogged, stuck, damaged, or disconnected from system pressure | Verify with a known-good gauge or have the gauge replaced. |
| Pressure rises well above normal cut-out | Pressure switch, control, or pressure-relief issue may require prompt professional attention | Do not bypass safety devices or adjust electrical controls without qualified help. |
| Pressure holds steady but flow at fixtures is weak | A localized plumbing or treatment restriction may be reducing flow | Compare fixtures and inspect serviceable filters according to their instructions. |
Credit: reddit.com
Pressure is normal at the tank but low at one fixture
If the well pump pressure gauge appears normal but only one shower, sink, or appliance has poor flow, the problem may be local to that fixture. A clogged aerator, showerhead, shutoff valve, appliance screen, or branch line can reduce flow without significantly changing the main tank pressure.
When every fixture has poor flow, look more broadly at whole-house filters, water treatment equipment, partially closed main valves, pressure tank operation, or pump performance.
Pressure drops whenever several fixtures run
Pressure often drops somewhat during heavy demand. The important question is whether the system recovers and whether the pressure remains usable. If pressure continually falls while the pump runs, the system may not be keeping up with demand.
Possible reasons include a clogged filter, treatment equipment restriction, undersized plumbing, a pump with insufficient capacity at the actual pumping water level, declining well yield, pump wear, or a problem in the drop pipe or check valve. A professional diagnosis may involve flow testing and evaluation of the pump curve, total dynamic head, well conditions, and system components. Horsepower alone cannot determine whether a pump is correctly sized.
Understanding Cut-In and Cut-Out Pressure
Cut-in and cut-out are pressure-switch or controller settings, not universal performance targets. The pressure gauge simply displays the pressure at which those controls appear to operate.
For a conventional pressure-switch system:
- Cut-in pressure is the lower pressure where the pump is commanded to start.
- Cut-out pressure is the upper pressure where the pump is commanded to stop.
- Pressure differential is the difference between them.
A common mistake is to increase pressure-switch settings because water flow seems weak. Higher pressure may not solve a restriction, low-yield well, undersized pump, clogged filter, or fixture-specific issue. It can also create compatibility concerns for the pump, pressure tank, plumbing, water heater, filters, and treatment equipment.
Pressure-switch adjustment involves electrical equipment and pressurized plumbing. The correct settings depend on the system design and the manufacturer’s limits. If settings have changed unexpectedly, the pump does not stop when expected, or the system pressure approaches a relief-valve setting, contact a qualified pump technician rather than attempting live electrical work.
How the Gauge Helps Identify Short Cycling
Short cycling means the pump starts and stops more often than it should during modest water use. It can increase wear on the pump motor, switch contacts, control components, and other parts of the water system.
With a properly functioning conventional pressure tank, water should be delivered from the tank before the pump needs to restart. If the gauge falls from cut-out to cut-in almost immediately when a small amount of water is used, usable tank drawdown may be low.
Potential causes include:
- A waterlogged pressure tank
- A damaged bladder or diaphragm in a bladder-style tank
- Incorrect tank air precharge
- A tank that is too small for the pump and household demand
- A leak in plumbing, a toilet flapper, irrigation equipment, or another water-using device
- A faulty gauge or pressure-switch problem that makes cycling appear abnormal
Tank volume and usable drawdown are not the same thing. A pressure tank does not deliver its entire labeled volume before the pump starts. Its usable drawdown depends on the tank design, air charge, and pressure range.
Checking for cycling with no intentional water use
If the pump cycles while no one is using water, first look for obvious signs of water loss: running toilets, dripping fixtures, leaking treatment equipment, outdoor hydrants, irrigation valves, or wet areas near visible plumbing. A leak can cause system pressure to fall and trigger the pump.
If no visible leak is found, the cause may be inside the pressure tank, well piping, check valve, or another inaccessible part of the system. A pump professional can isolate portions of the system and test them safely.
When the Pressure Gauge Itself Is Wrong
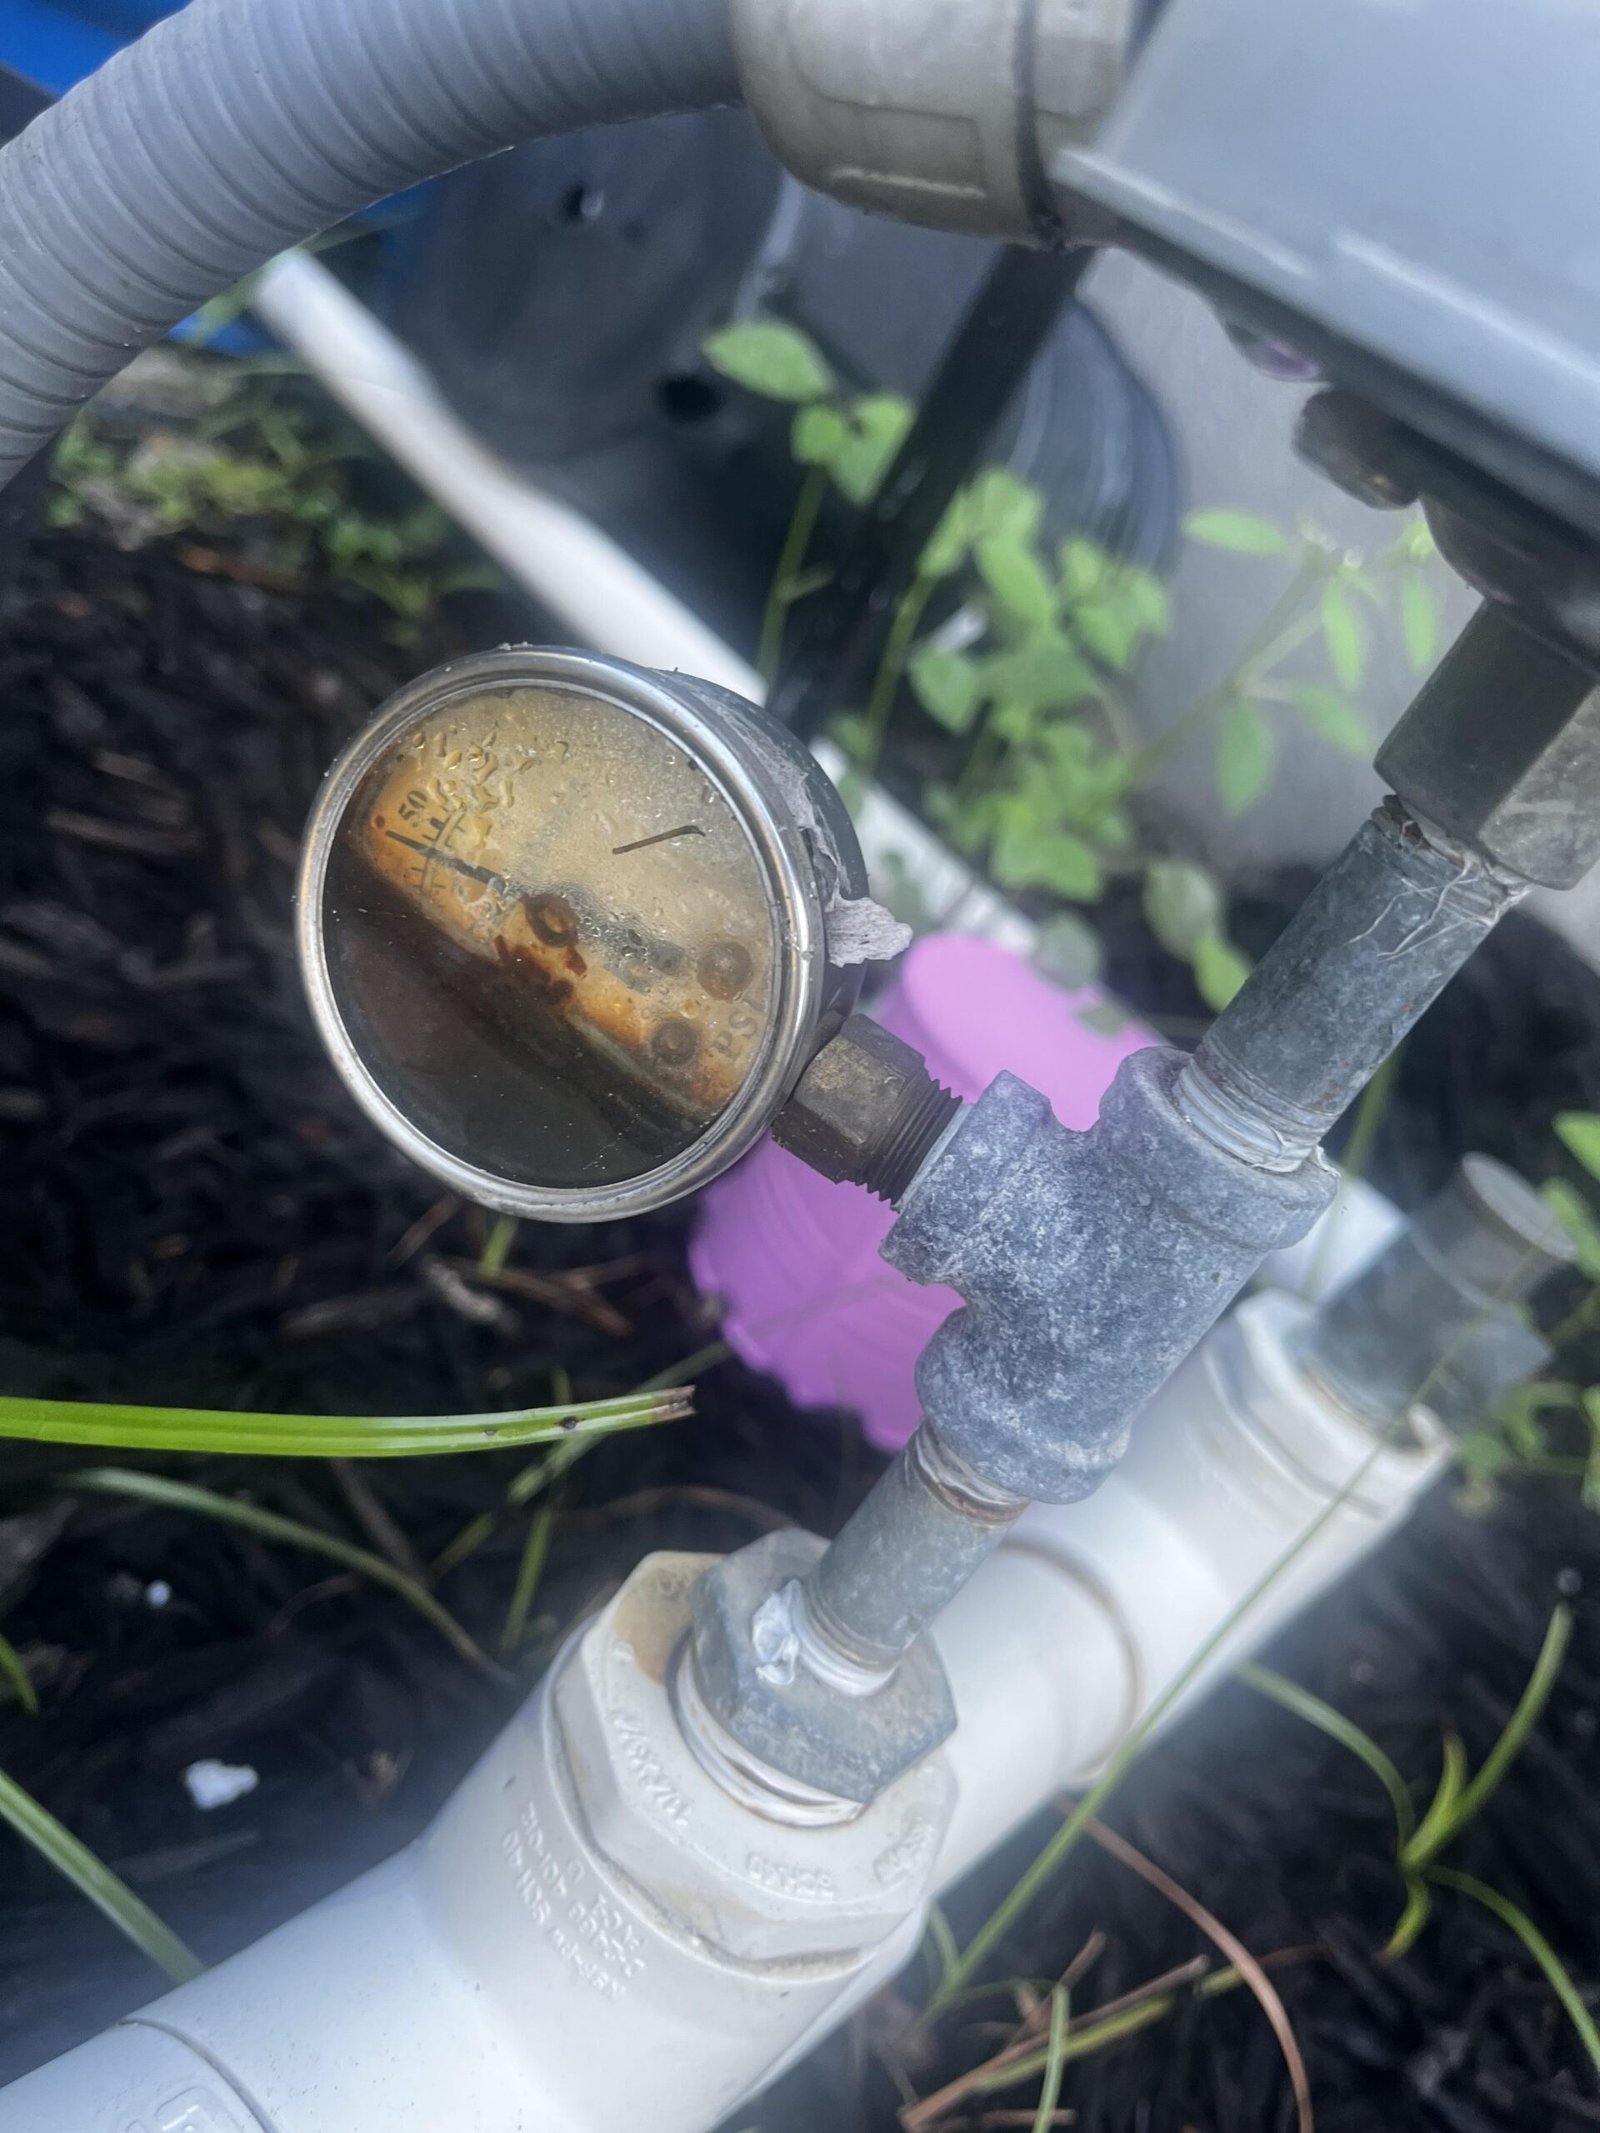
A pressure gauge is a mechanical device, and it can fail. Sediment, iron deposits, mineral scale, freezing conditions, vibration, pressure spikes, and age can affect accuracy. A gauge may also clog at its small inlet opening, leaving the needle stuck at an old reading.
Signs of a faulty well pump pressure gauge include:
- The needle never moves, even when water pressure clearly changes
- The gauge reads below zero or remains pegged at its maximum reading
- The needle jumps erratically or does not settle
- The pump starts and stops, but the gauge does not show corresponding changes
- Two gauges connected to the same part of the system show significantly different readings
A bad gauge can lead to unnecessary repairs if it is trusted without verification. Before concluding that a pump or pressure tank has failed, compare the reading with a known-good test gauge or have a professional confirm pressure using calibrated equipment.

Credit: reddit.com
Choosing a Replacement Pressure Gauge
If a gauge needs replacement, choose one intended for potable-water plumbing and compatible with the installation location. The existing gauge provides useful information about thread size, mounting orientation, pressure range, and available clearance.
Important selection factors include:
- Pressure range: The dial range should make normal operating pressure easy to read. A gauge with an excessively high maximum range can make ordinary pressure changes difficult to see.
- Connection type and size: The threaded connection must match the tank tee, manifold, or gauge port.
- Mounting orientation: Some gauges connect from the bottom, while others connect from the back.
- Water-system suitability: Use a gauge designed for the intended water and pressure application.
- Readability: A clear dial and appropriately spaced markings make it easier to monitor cycling.
Do not rely only on the old gauge’s marked pressure range. If the system includes a pressure relief valve, specialized controller, or nonstandard operating range, consult the equipment documentation or a qualified professional before selecting a replacement.
Safe Considerations Before Replacing a Gauge
Replacing a pressure gauge requires opening a pressurized water connection. The pump circuit and pressure system should be handled carefully. Do not work on live electrical components, bypass the pressure switch, or loosen fittings while the system remains pressurized.
For a gauge replacement, the basic safety principles are to isolate power to the pump at the appropriate disconnect or breaker, fully relieve water-side pressure, and follow the pressure tank, switch, and plumbing-component manufacturer instructions. If the gauge is mounted in a corroded tank tee, near damaged wiring, or on a system with unusual pressure behavior, professional service is the safer choice.
After replacement, the new gauge should be observed through multiple normal pump cycles. Check for leakage at the connection and confirm that the displayed cut-in and cut-out behavior is consistent. A new gauge that shows unexpected pressure does not automatically mean the gauge is defective; it may reveal an existing system problem that the old gauge failed to show.
Using Gauge Readings to Help a Contractor
Clear observations can make a service visit more efficient. Before calling for help, write down the symptoms rather than relying on a single pressure reading.
- The displayed pressure when the pump starts and stops
- Whether pressure drops rapidly, slowly, or only during high water use
- Whether the pump cycles when no water is being used
- Whether the problem affects the whole home or one fixture
- Recent changes, such as a new filter, water softener, power outage, well repair, flooding, or freeze event
- Whether water is discolored, cloudy, odorous, or contains visible sediment
- The type of well pump and pressure system, if known
Water-quality symptoms should be evaluated separately from pressure symptoms. Sediment can clog filters and reduce flow, but odor, color, taste, or a gauge reading cannot establish whether water is safe to drink. If flooding, well damage, or suspected contamination is involved, use a known safe water source and contact the local health department or a certified laboratory about appropriate well-water testing.

Credit: reddit.com
FAQ
Why does my pressure gauge read zero when I still have water?
The gauge may be stuck, clogged, or failed, especially if fixtures still have normal pressure. It is also possible that the gauge is installed on an isolated or restricted section of plumbing. Compare it with another reliable gauge or have a qualified technician verify actual system pressure before diagnosing the pump.
Can a clogged sediment filter affect the pressure gauge reading?
Yes. A clogged filter can create pressure loss downstream while pressure near the tank remains higher. If gauges are installed before and after the filter, the difference between them during water use can help show restriction. Replace or service the filter only according to the equipment instructions.
How often should a well pressure gauge be replaced?
There is no universal replacement schedule. Replace it when it leaks, sticks, gives implausible readings, becomes unreadable, or cannot be trusted for diagnosing pump operation. Periodic observation is more useful than replacing a gauge solely because of its age.
Does higher pressure always mean better water flow?
No. Pressure and flow are related but different. A home can show normal pressure at the tank while a blocked filter, narrow pipe, clogged fixture, or treatment system limits flow. Raising system pressure may not correct the restriction and can create equipment compatibility concerns.
Should the pressure gauge match the pressure switch exactly?
The gauge should show pressure close to the point where a conventional pressure switch starts and stops the pump, but small differences can occur due to gauge accuracy and installation location. Large or inconsistent differences warrant verification with a reliable gauge and inspection of the system controls by a qualified professional.